Continuing our look at Windows 10 we’re moving on to the Start Menu. After its hiatus in Windows 8 it’s made a much demanded return in Windows 10.
Before even opening the Start menu you will notice that the search bar introduced to the Start menu in Windows 7 has moved to sit in the toolbar permanently. Move your focus here and it opens a window ready to display your search results, either from the web or your computer. This is the home of Cortana, your virtual assistant, Microsoft’s answer to Google Now and Siri. There’s a lot to say about Cortana so we’ll get to know her in a separate blog post.
Moving away from the search box and selecting the Windows icon on the toolbar opens a familiar looking window but with some differences.
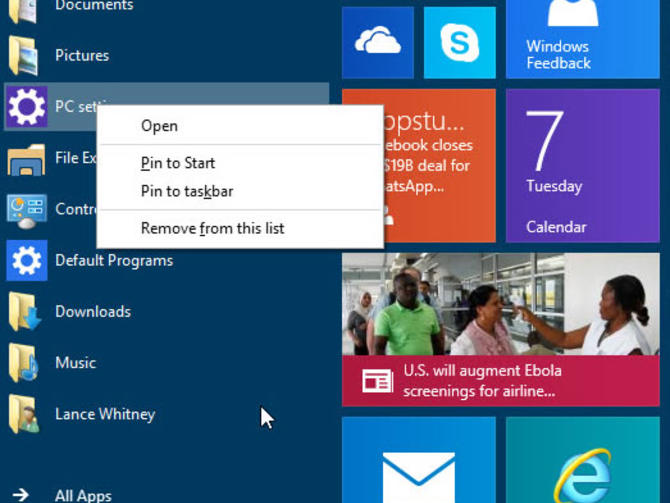
A list of All Programs has been replaced by All apps. Selecting this provides a list of all the programs installed on your computer, in alphabetical order. We also have the option to open File Explorer, Settings and Power options. It’s a less cluttered Start menu and easier to navigate as a result. You can pin and unpin items to your heart’s content! Though if you’re anything like me, to find anything, you already default to the search bar in Windows 7 and Windows 10 builds on that idea.
Then to the right of the menu we have live tiles. The idea of a live tile will be familiar to anyone who has worked with Windows 8. These tiles relate to a program on your computer and can display relevant information for that day. Think calendar, email or the weather. These tiles can be swapped, moved, resized or removed entirely. Just right click on the relevant tile to make your choices. Live tiles are great for people who want information in bitesize pieces or like the easily accessible prompt.
So some potential there to make the Start menu work better for you. Check back for more on Cortana (Let me know in the comments if you’re a Halo fan!)